This article explains the steps and process for integrating your Dial800 account with Salesforce. Dial800’s open API allows for seamless integration of your inbound campaign data into Salesforce so your call information can be viewed in one spot along with your customer data.
This process will require you to frequently go between Salesforce and Dial800 – we recommend you have two browser windows open to quickly and easily toggle between them.
Need to get to a Salesforce integration step quickly? Go to:
- Step 1: Creating Your Salesforce Developers Account
- Step 2: Setting Up Your Integration
- Step 3: Creating a Real-time Event for Salesforce Integration
- Step 4: Test Your Salesforce Integration
What is Salesforce & How Does it Help Track Your Data?
Salesforce is a popular and powerful CRM platform that makes it easy to manage customer information. It provides in-depth information on customer interactions that you and your employees can have equal access to the information. By integrating Dial800 data into your Salesforce platform, you provide another important level of customer detail for your reps and a better experience for future customers.
Step 1: Creating Your Salesforce Developers Account
If you have an existing Salesforce developer account, you can navigate to the Salesforce Developer Home Page, click on Apps, Manage Apps and then click to view or edit your existing app. This will take you to Step 2 below.
If you need to create an account, follow these steps:
- Go to https://developer.Salesforce.com/signup and fill out your information to create a developers account
- Confirm your account with the email sent to you
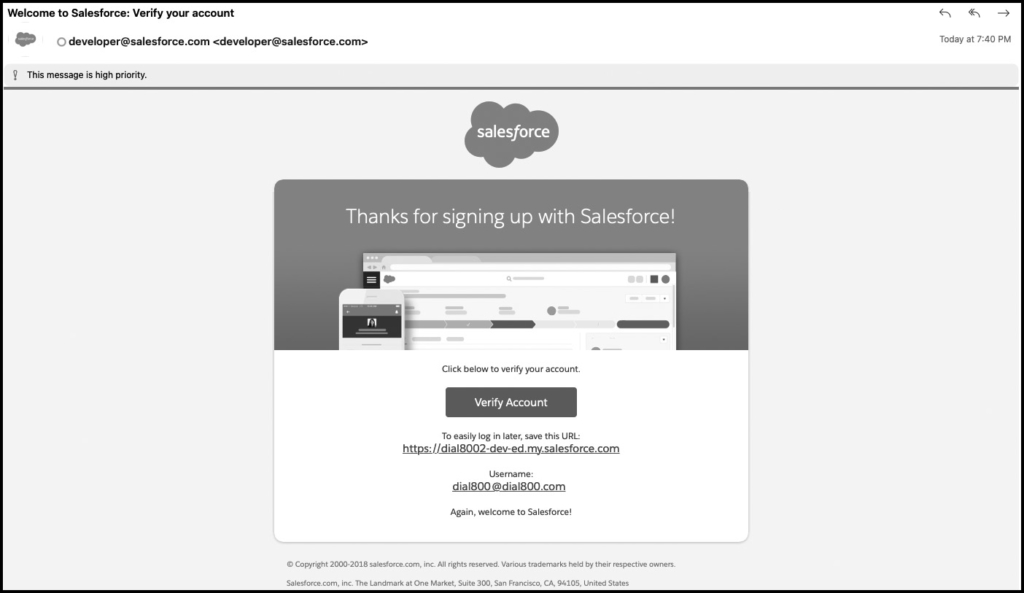
- Save the link to your developers account in the verification email
- Once you create and verify your account, navigate to the Salesforce homepage
- This is the link from your account verification email
Step 2: Setting Up Your Integration
- On your Salesforce homepage, click on Apps under PLATFORM TOOLS in the left-hand sidebar
- Click on App Manager
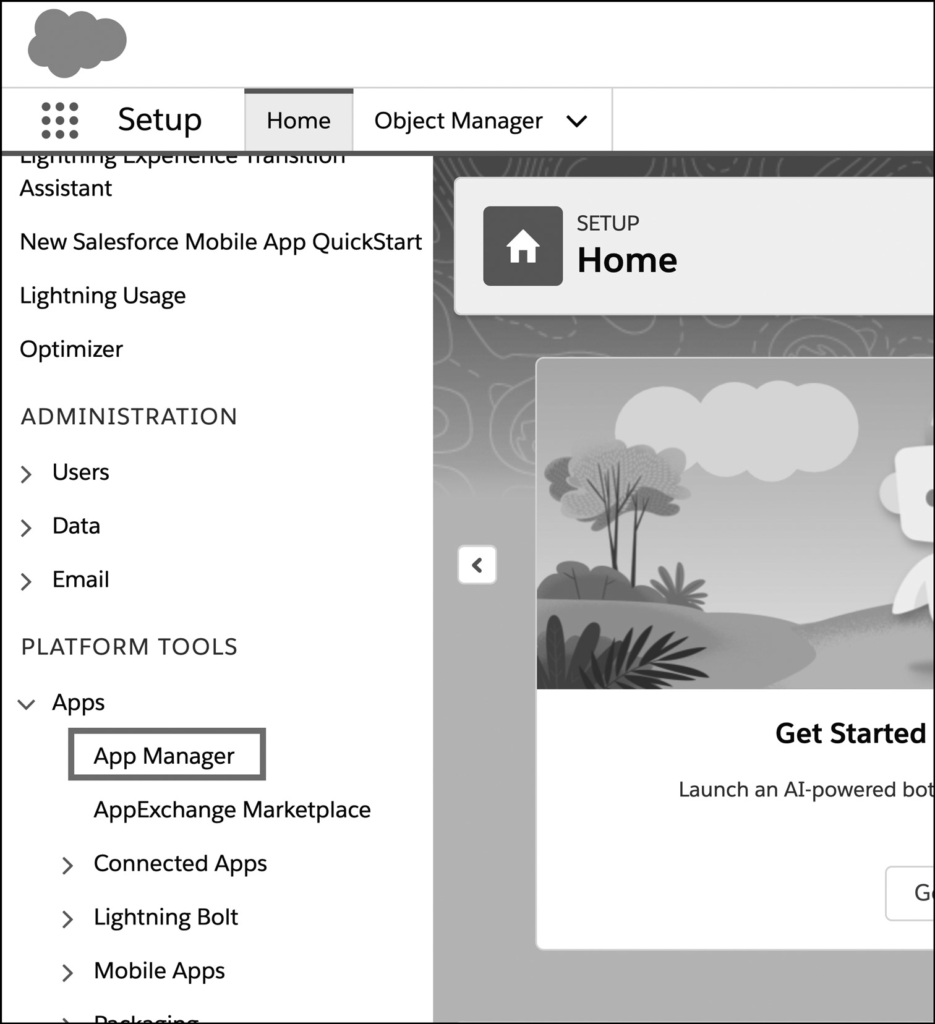
- Click on App Manager
- Click on New Connected App on the upper right-hand of the web page
- Create a New Connected App
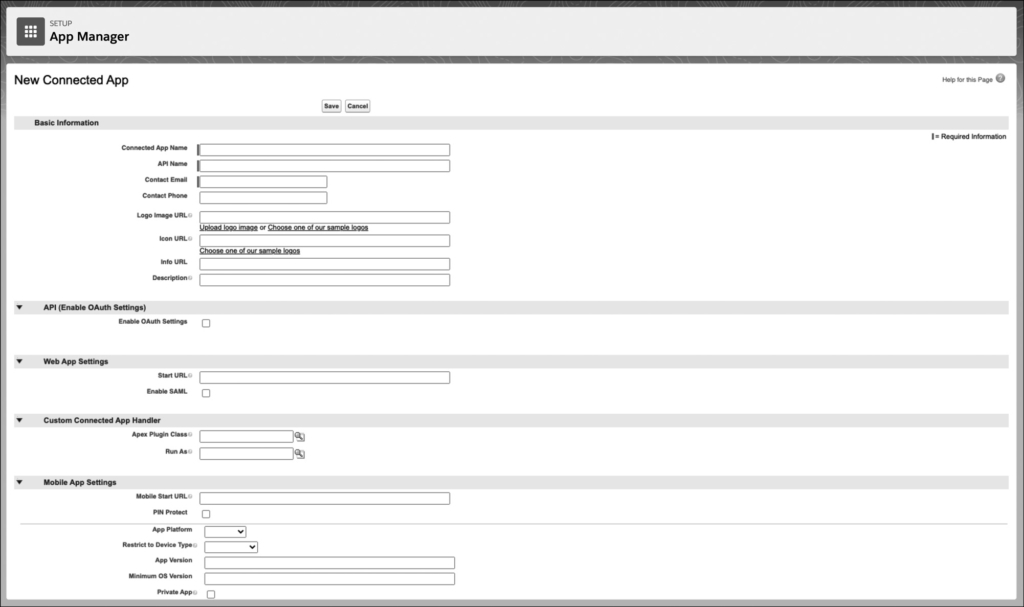
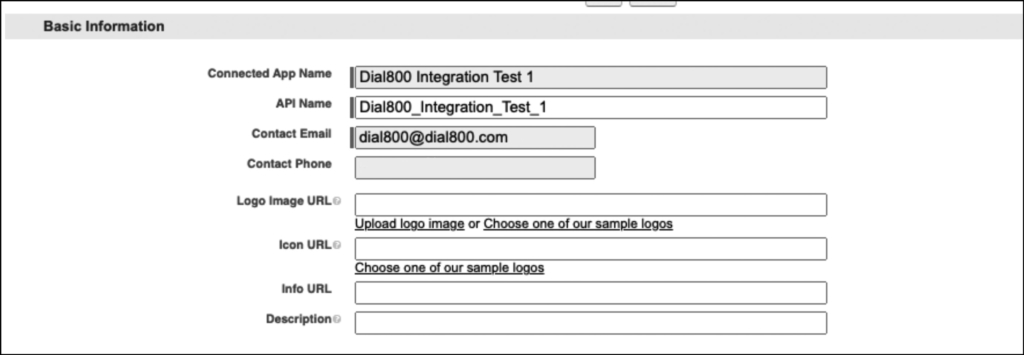
- Enter a descriptive name for your App such as “Dial800 Integration Test 1”
- API Name will Auto Fill
- Enter your Contact Email and Phone number
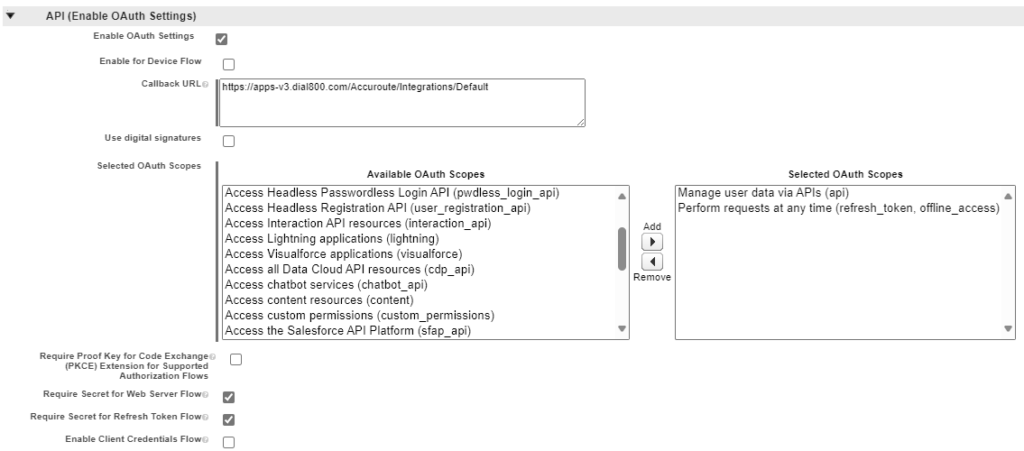
- Check Enable OAuth Settings
- Enter https://apps-v3.dial800.com/Accuroute/Integrations/Default as Callback URL
- Select the following OAuth Scopes and click the Add button
- Manage user data via APIs (API)
- Perform requests at any time (refresh_token, offline_access)
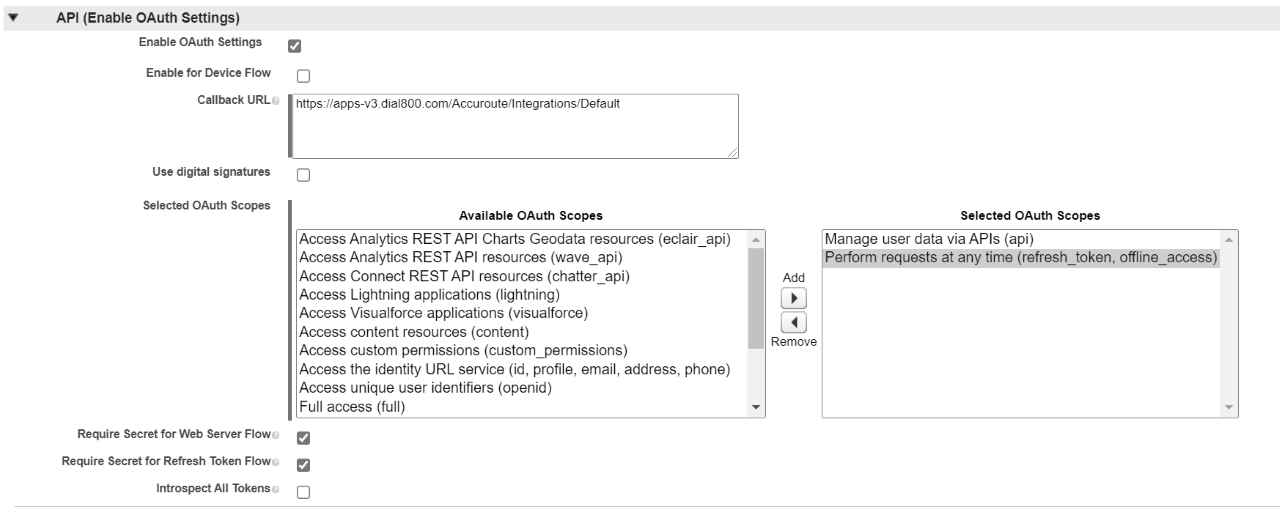
- Ensure “Require Proof Key for Code Exchange (PKCE) Extension for Supported Authorization Flows” is unchecked, and ensure “Require Secret for Web Server Flow” is checked
- Click Save
- You should receive the following message:
- “New Connected App – Changes can take up to 10 minutes to take effect…”
- Click Continue
- While keeping the Salesforce window open, open a second browser window or tab and go to your Dial800 Dashboard at https://apps-v3.dial800.com
- Click on the AccuRoute® tab at the top of the screen
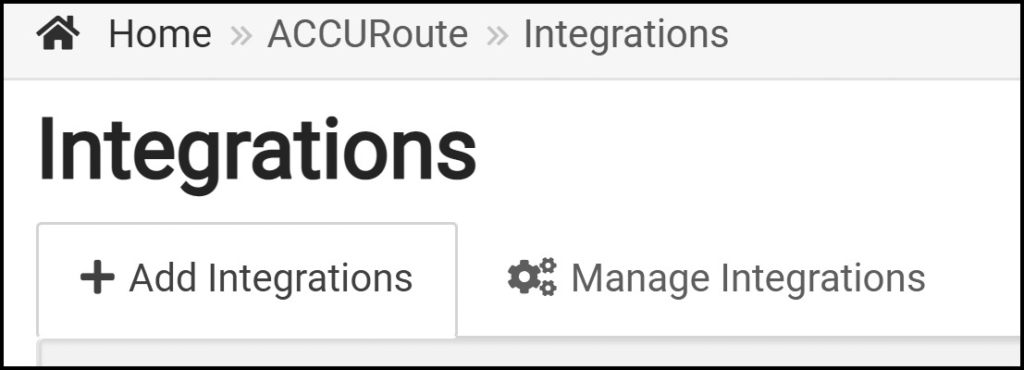
- Click on the Integrations Panel
- Click the Configure Salesforce button on the Salesforce Panel
- Enter your Integration Name (same as App name)
- Go back to the Salesforce browser window.
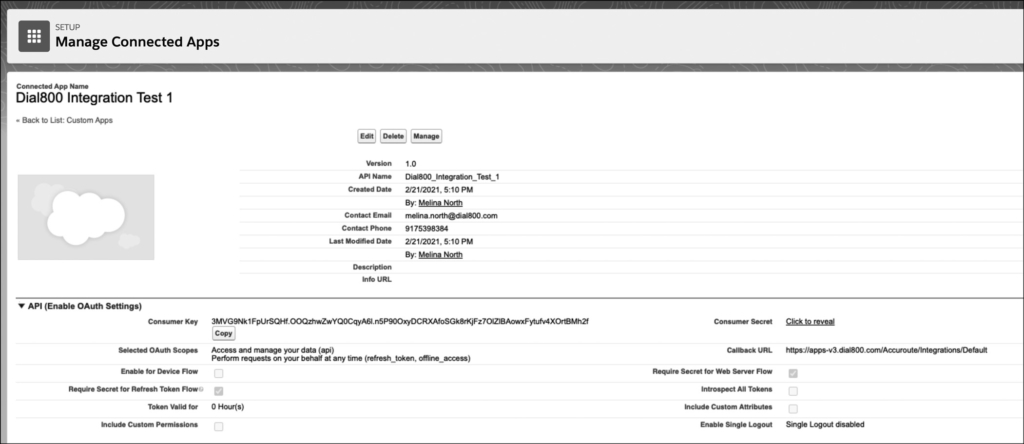
- Copy your consumer key
- Go back to the Dial800 browser window
- Paste your Salesforce consumer key into the Client ID field
- Go back to the Salesforce browser window
- After Consumer Secret click “Click to Reveal” and copy the Consumer Secret
- Go back to the Dial800 browser window
- Paste your Consumer Secret into the Client Secret field.
- Go back to the Salesforce browser window
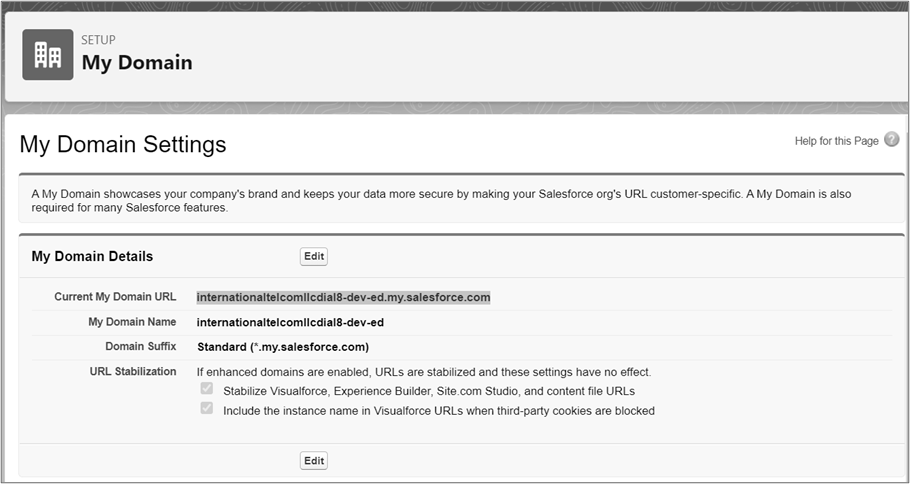
- On the left side, under settings click Company Settings, then My Domain
- b. Under My Domain Details, take note of the URL after Current My Domain URL. NOTE: You will need this URL info in the next step and once again when creating your Real Time Event.
- Go back to the Dial800 browser window
- a. Your OAuth Token Issuer URL will be https:// + the Current My Domain URL you took note of in the previous step. For example, if your Current My Domain URL is dial800-dev-ed.my.salesforce.com, you would enter: https://dial800-dev-ed.my.salesforce.com
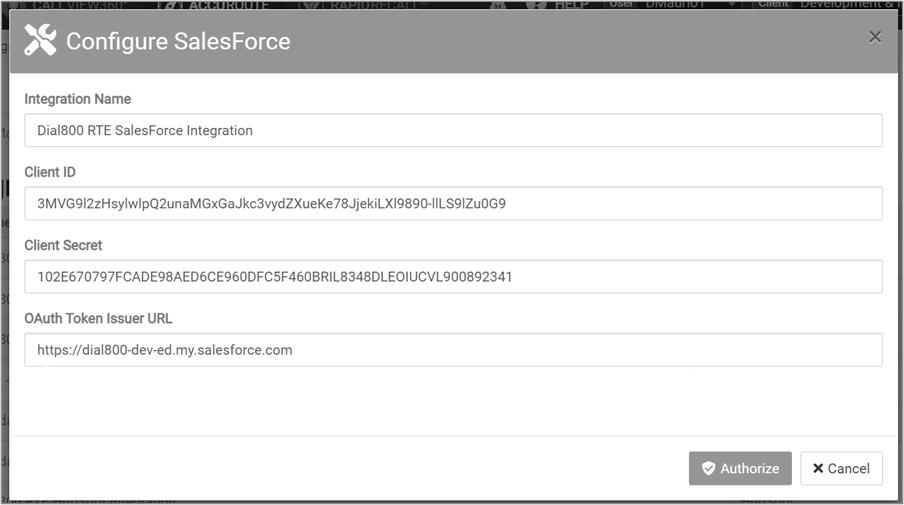
- Click Authorize
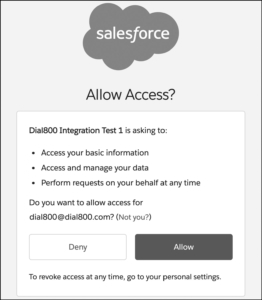
- Click Allow on the Allow Access page.
- a. Your OAuth Token Issuer URL will be https:// + the Current My Domain URL you took note of in the previous step. For example, if your Current My Domain URL is dial800-dev-ed.my.salesforce.com, you would enter: https://dial800-dev-ed.my.salesforce.com
- In Integrations, click on Manage Integrations tab in the top left, you should see “Authorized” under Status for your Salesforce Integration
![]()
Step 3: Create a Real-Time Event for Salesforce Integration
- On the Dial800 platform, click AccuRoute
- Select Real-Time Events
- Click the Create New Real-Time Event Button
- In the Settings tab:
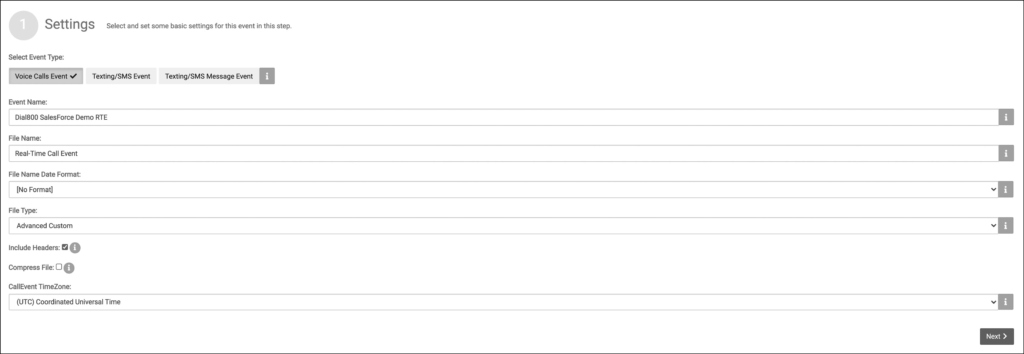
- Select Voice Calls Event as Event Type
- Enter Event Name
- File Name can be left as is, does not matter
- File Name Date Format can be left as is, does not matter
- Change File Type to JSON
- Check Include Headers
- Uncheck Compress File
- Set time zone UTC
- Click Next
- In the Filters tab:
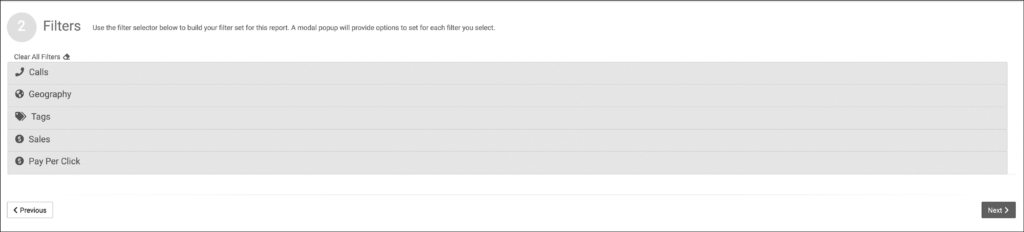
- Enter desired Filters, if any
- Click Next
- In the Options tab:

- Select template type: Basic
- Select template: Call Detail
- Click Next
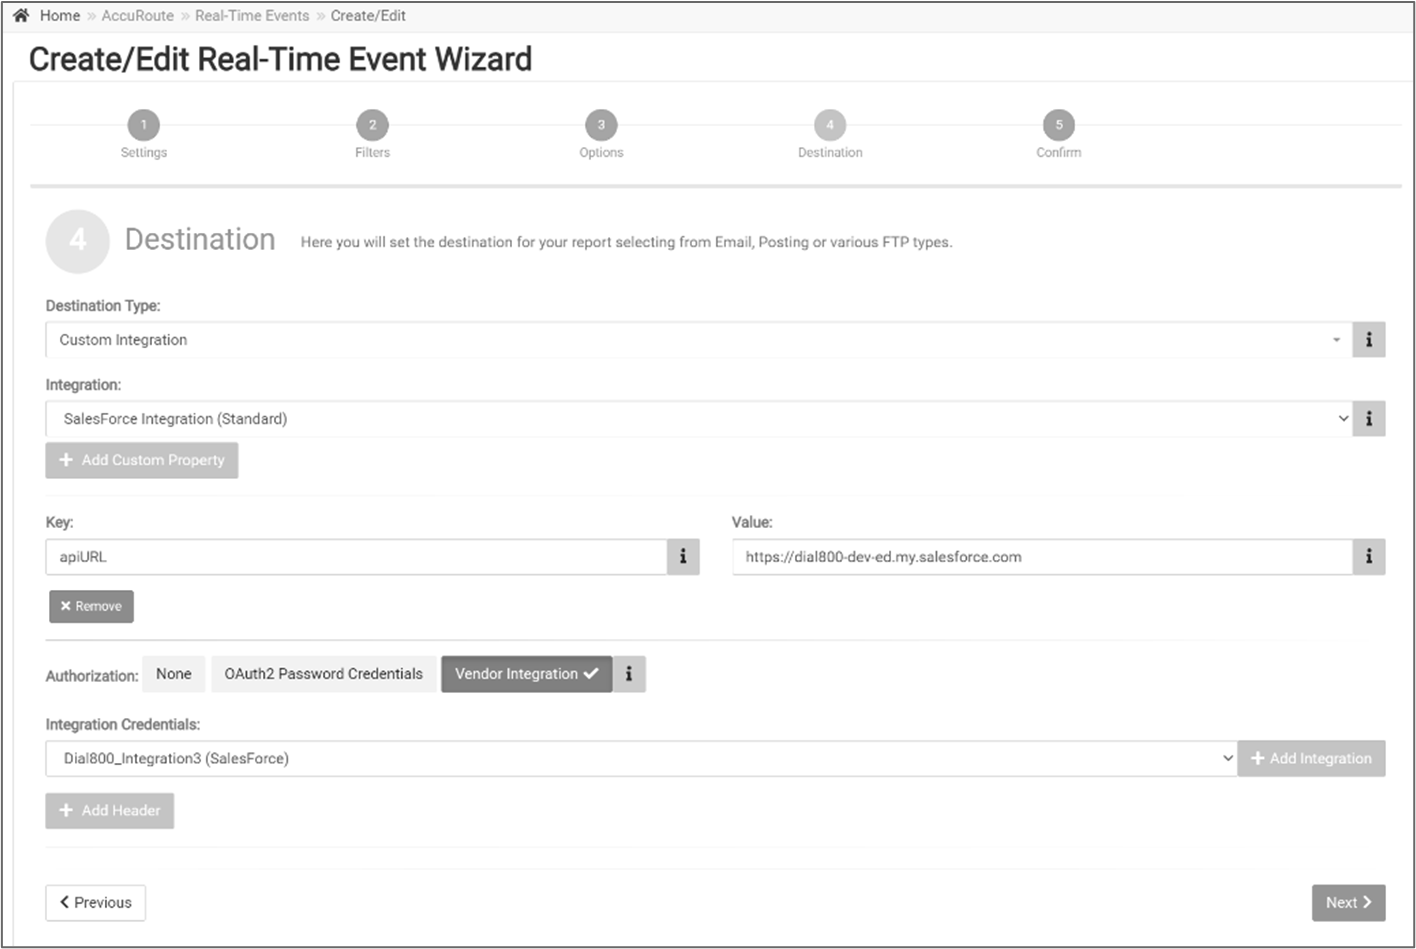
- In the Destination Tab:
-
- Destination Type is: Custom Integration
- Integration is: Salesforce Integration (Standard)
- Click + Add Custom Property
- For Key enter: apiURL
- For Value enter: your Current My Domain URL you took note of in step 14b.
- Select: Vendor Integration
- Under Integration Credentials select your Vendor Integration Name from the drop-down list
-
- Click Next to Confirm
- Click Finish
Step 4: Test Your Salesforce Integration
- Make Test call to your target number
- Go to Contacts within Salesforce
- Verify contact created by your test call exists
Your Salesforce and Dial800 accounts are successfully integrated. If you have any more questions or need help, you can contact Dial800 Customer Care or call 1-800-DIAL800.
 CallView360®
 VoiceInsights AI
 AccuRoute®
 BizCloud
 RapidRecall®
 Integrations