This article walks you through the steps for setting up Real-Time Events using the advanced options; for basic options, see the links below for more information.
What Are Real-Time Events?
Within Dial800, Real-Time Events provide an ongoing check and delivery of Dial800 call status information including when the call is first received and when it is complete. You can collect and send this data in several ways including email or an email attachment, FTP, SFTP, HTTPS Post, URL encoded, or custom integration.
When should you use Real-Time Events? They can be used to notify you of a missed call, to provide a “screen pop” to a call center management system, or to push call data into a CRM such as Salesforce, Netsuite, ZenDesk, and more.
Creating an Advanced Real-Time Event in AccuRoute®
There are several steps to creating a Real-Time Event, which the setup tool walks you through:
- First, navigate to AccuRoute and select Real-Time Events
- Click Create New Real-Time Event
- On the Settings screen, select your event type (Voice Call Event, Texting/SMS Event, or Texting/SMS Message Event)
- Fill in your event information including Event Name, File Name, and File Type
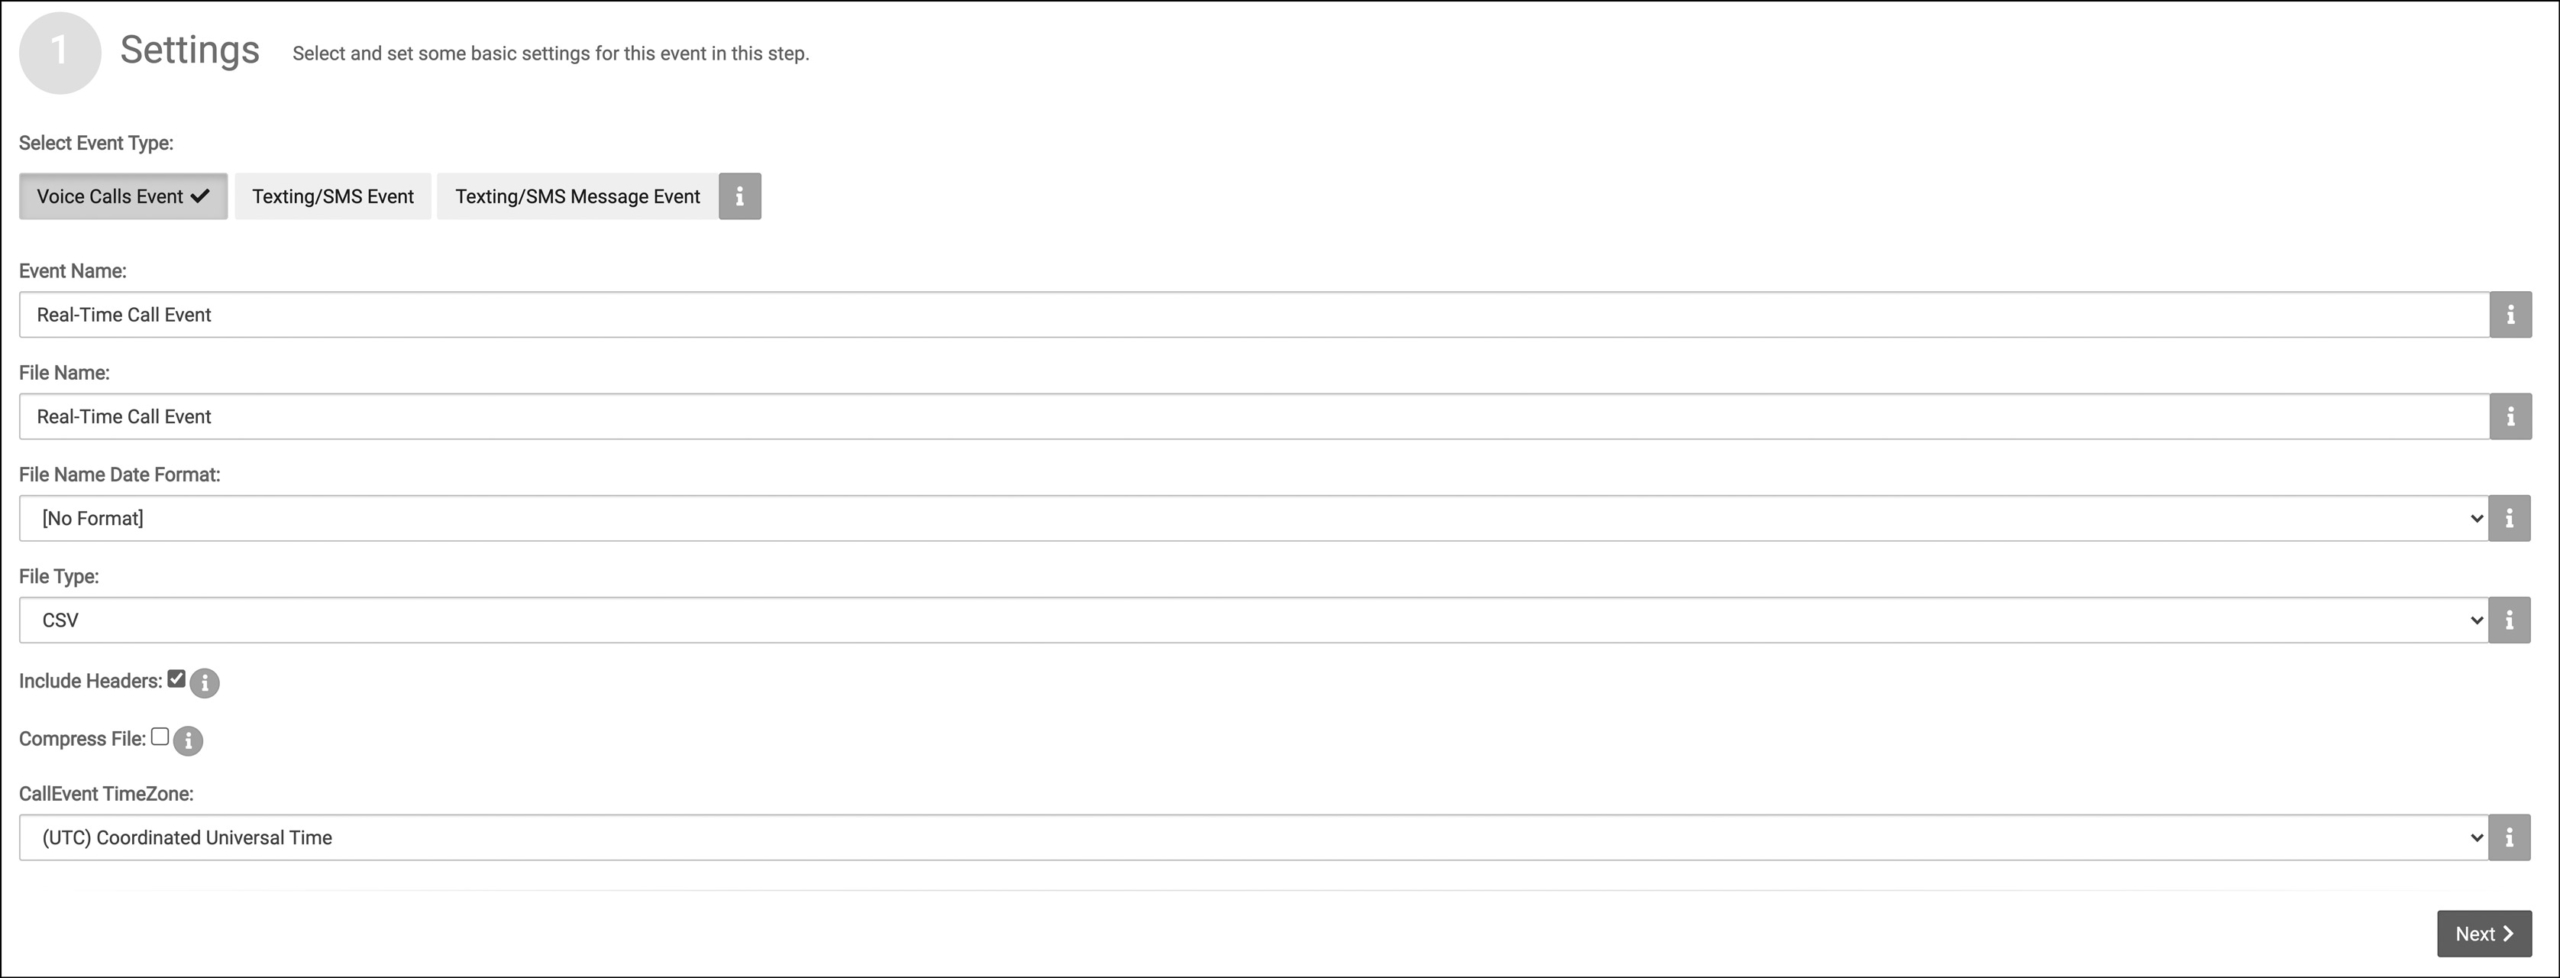
- Click Next
- On the Filters screen, define your filters to determine which calls will generate the Real-Time Event (if no filters are specified, all calls will generate the Real-Time Event)
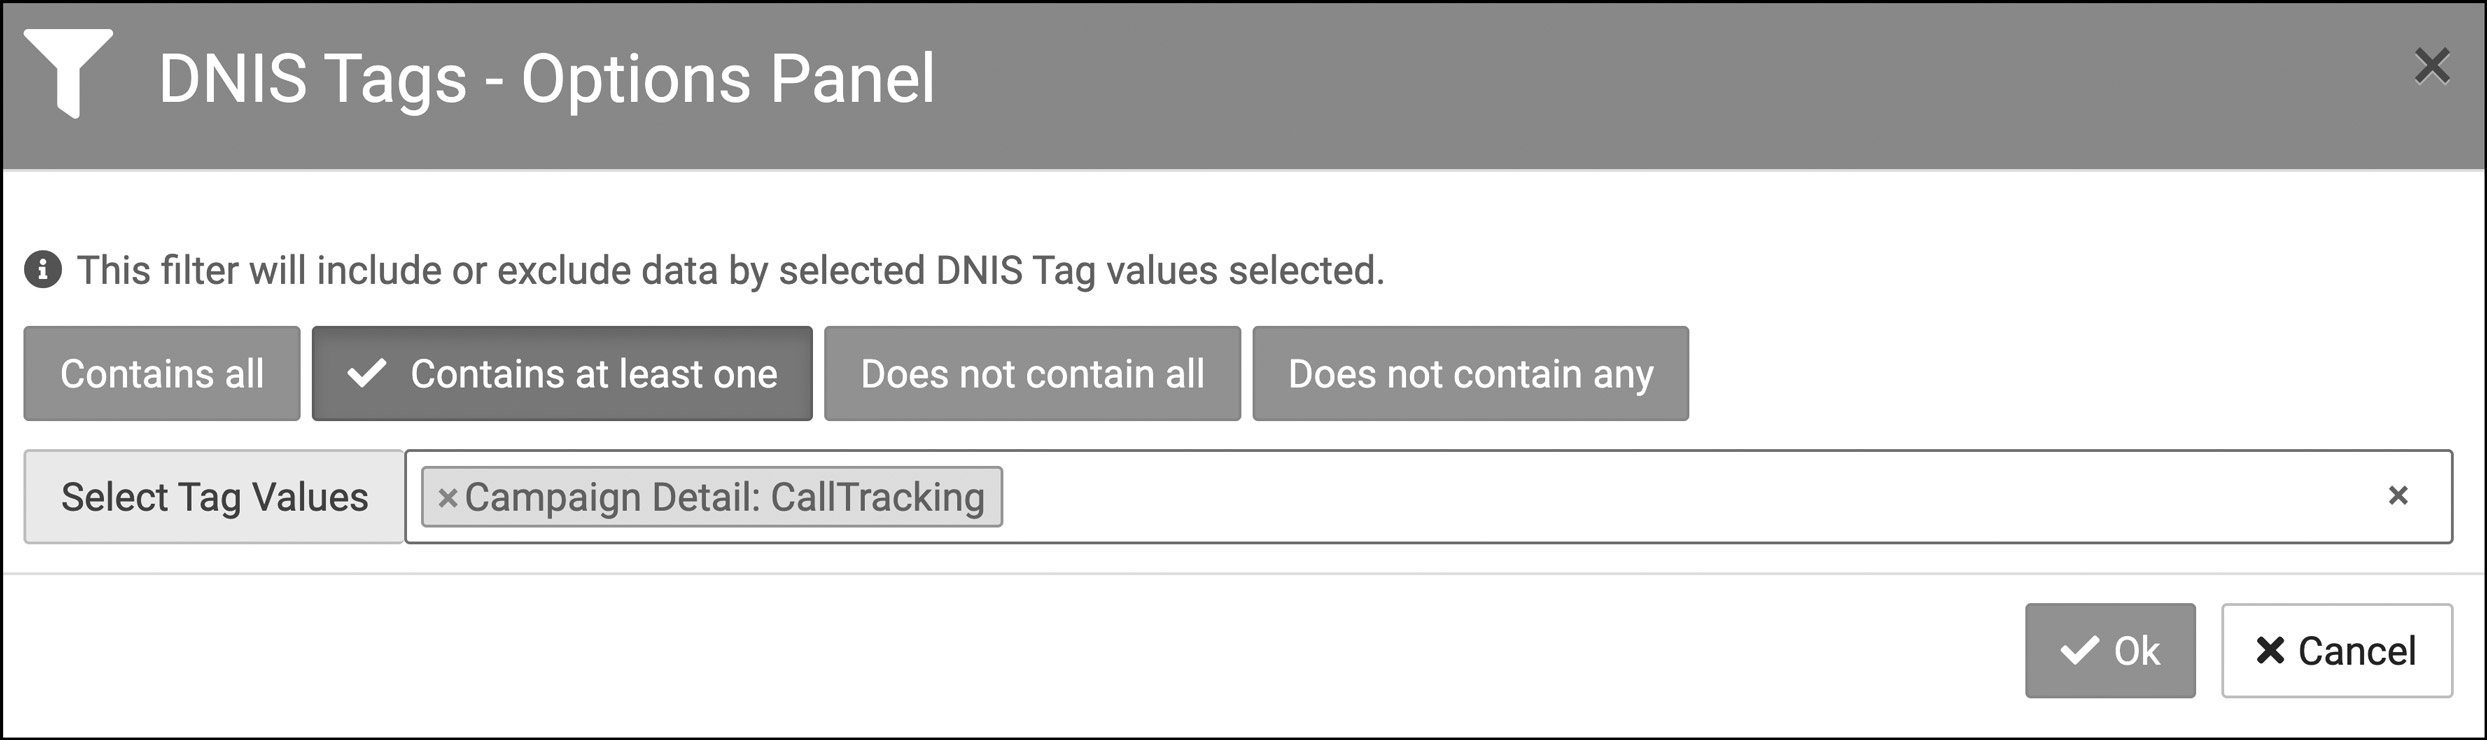
- Click Next
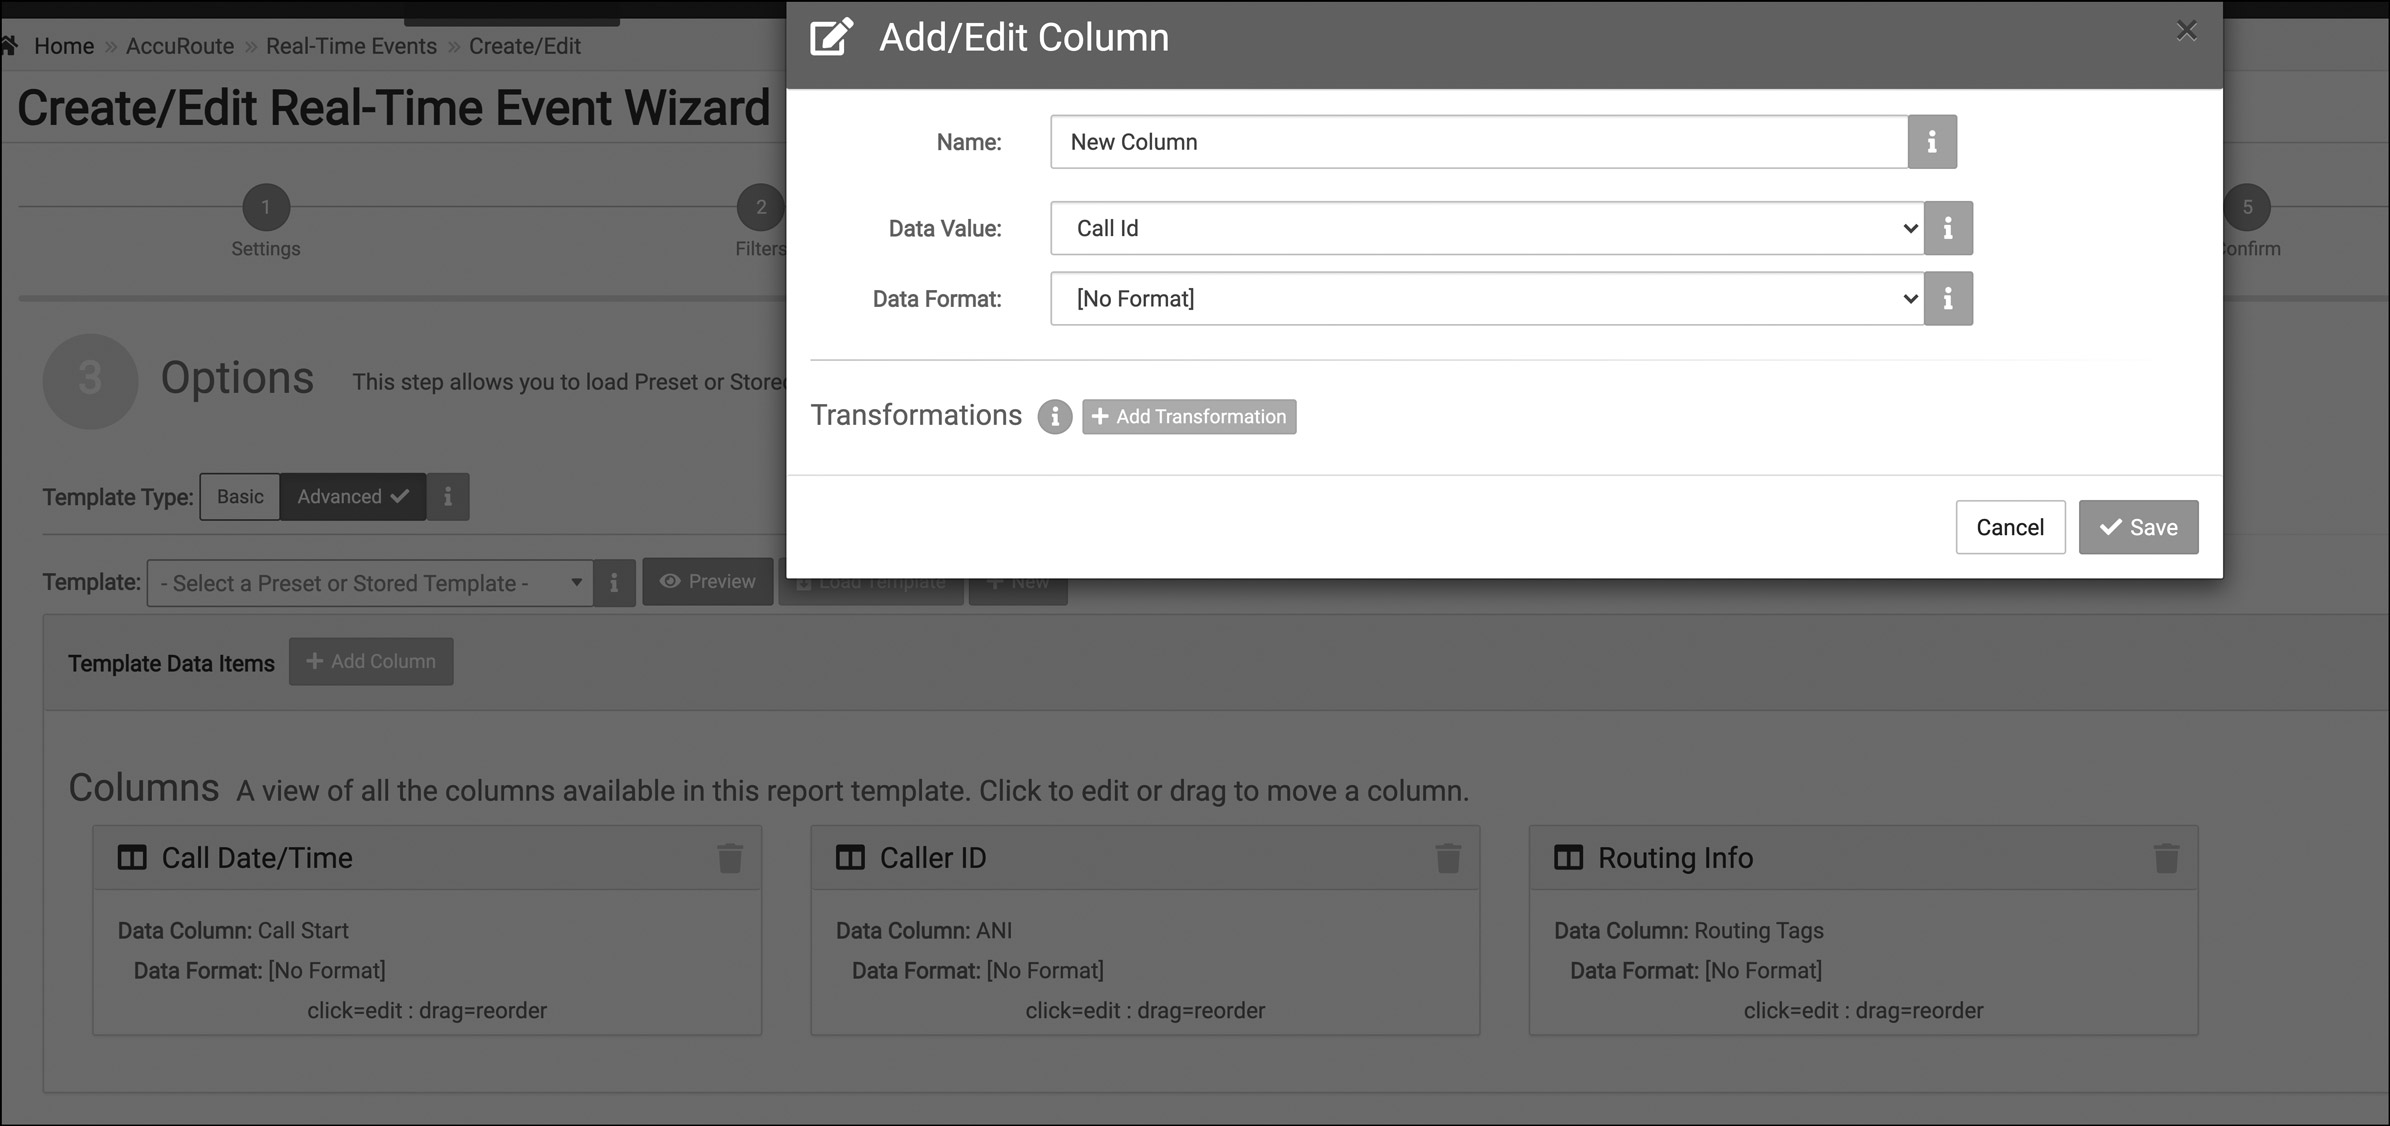
- On the Options screen, select Advanced and use the orange ‘+New’ button to begin creating your template (for the basic real-time event template, click here)
- The column will appear below as Call ID – You can select the box and begin changing the column name and the data in the column, and drag the boxes to reorder them
- To add more columns, select the orange button +Add Column
- When you have added the columns you want, click Preview to see the template data fields
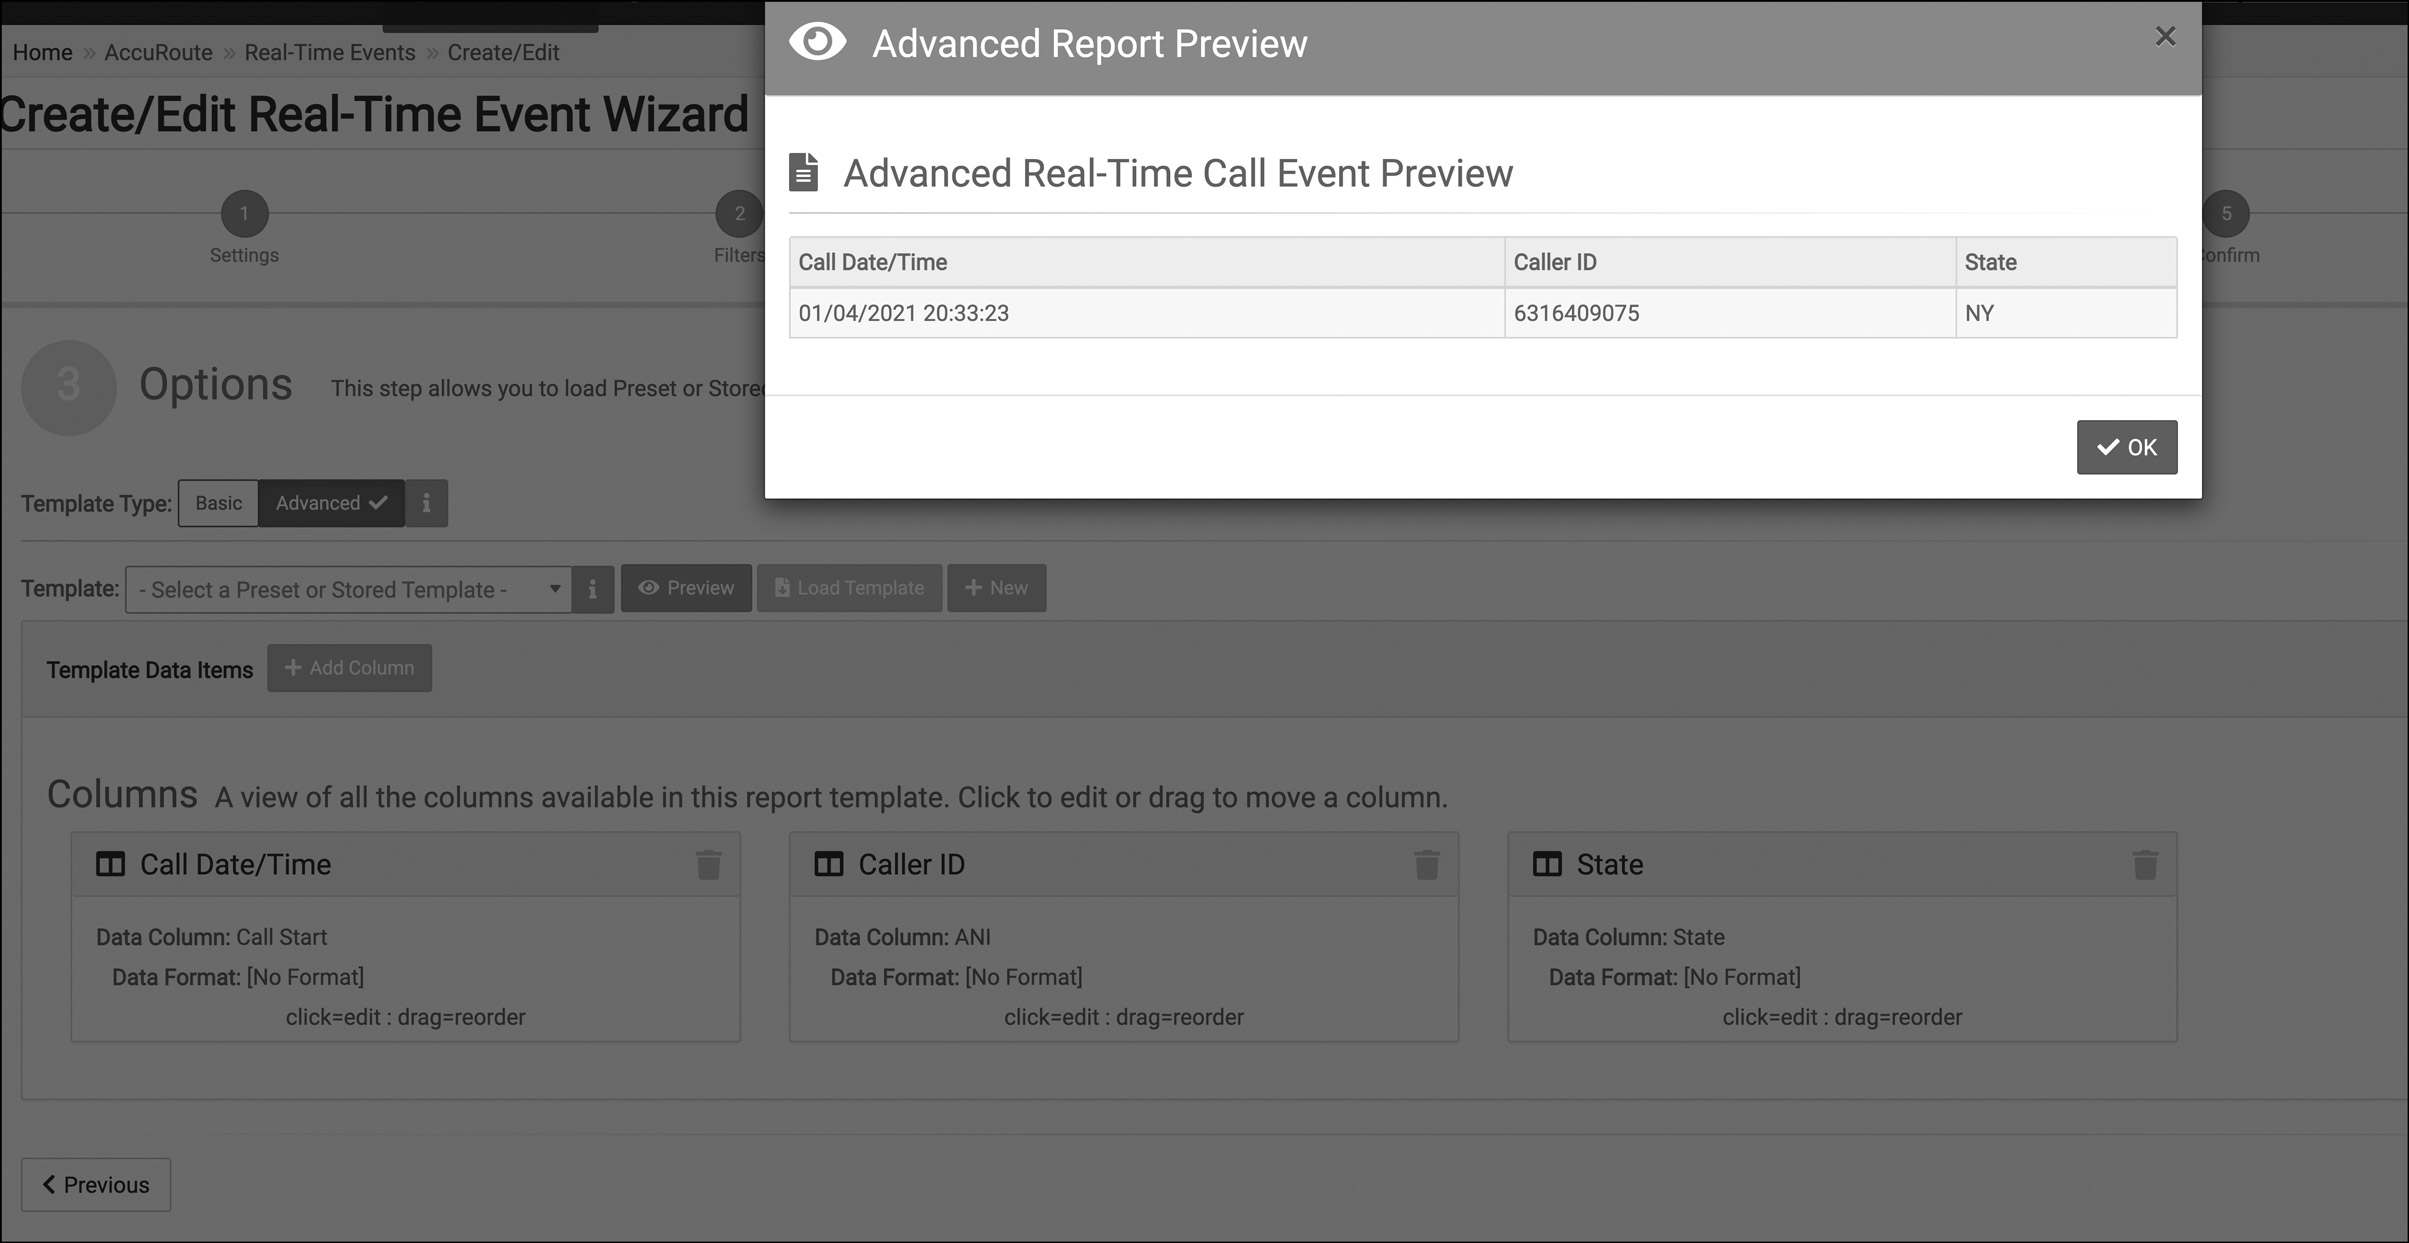
- Click Next
- On the Destination Screen, select the Destination to determine how and where the Real-Time Event is sent – choose to send to an email address as an attachment or within the body of the email, or post it to an HTTP endpoint or send via FTP (use this guide to understand each destination)
- Finally, use the Confirm screen to verify all your choices are correct and click Finish
Your advanced Real-Time Event is now saved and ready to run. If you have any more questions or need help setting up your Real-Time Events, contact Dial800 Customer Care or call 1-800-DIAL800.
 CallView360®
 VoiceInsights AI
 AccuRoute®
 BizCloud
 RapidRecall®
 Integrations